yeast starters: a no-knead bread supplement
This article is part of a group of posts I have about bread making. I originally published this in early 2020, when at the start of the pandemic when “stay at home” orders were a thing, general anxiety was high, and food supplies of many staples were low. For a variety of reasons people were turning to traditional things such as bread making.
That was assuming you can find things like yeast in the stores.
Yeast is one of those things that kind of disappeared from the shelves quickly, and I don’t think it’s from any sort of hoarding, but from those wanting to get something basic that could sustain them for an extended period of time. Baking bread fits in there, and for most people that means flour and yeast.
But, yeast isn’t just about what comes in those little packets, or a little brown jar. Yeast is a living organism and it’s all around us. And while we can’t really see it, it’s pretty easy to capture. In fact, it’s pretty much the original way of making bread, but nowadays, we call it “sourdough”. Thing is, I’m not really a huge sourdough fan. The “sour” tang you get, I … yea, it’s just not my first choice.
But I was recently watching yet another video on bread making, this one was on the Glenn & Friends Cooking (a channel I really recommend), and in it, he shows a technique to extend your yeast. It’s basically reserving a small chunk of dough from a loaf you’ve already started proofing then adding some additional flour and water to make a “starter”. In practice, it’s like nurturing a sourdough starter, but rather than capturing yeast out of the air, you are cultivating that yeast you started that first loaf with. Eventually, your starter will likely start taking on some of the characteristics of a traditional sourdough starter, and you’ll keep it fed and such in pretty much the same way.
So let’s review some basic steps in starting and maintaining your own starter. This, by no means, is going to be a definitive guide, it’s based on my own crash-course, and will likely evolve as I keep learning and doing.
Step 1 – Make Some Bread
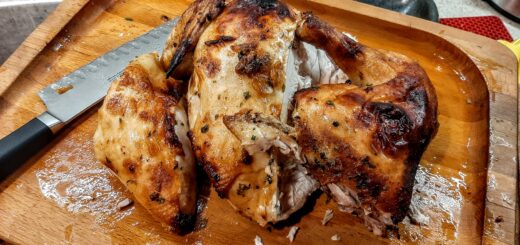
Make a loaf of No-Knead Bread. Make any kind you want, even a seasoned loaf. For my starter, I did make what I think was my first, all-white flour loaf of bread in quite a long time, but I did add some thyme and fennel to it. After it’s initial proof, I was able to pull off a chunk of the dough with very little of the herbs in it.
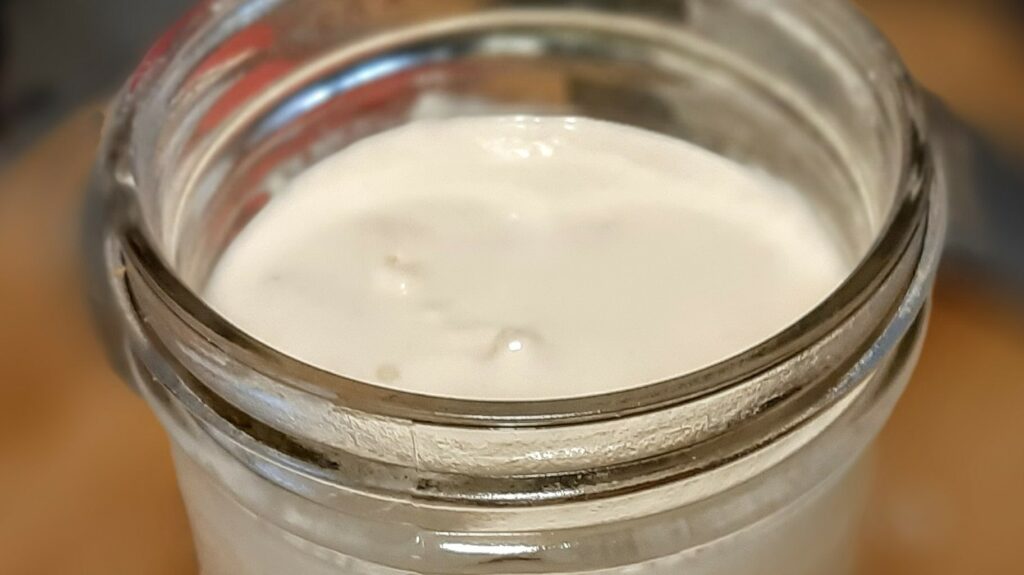
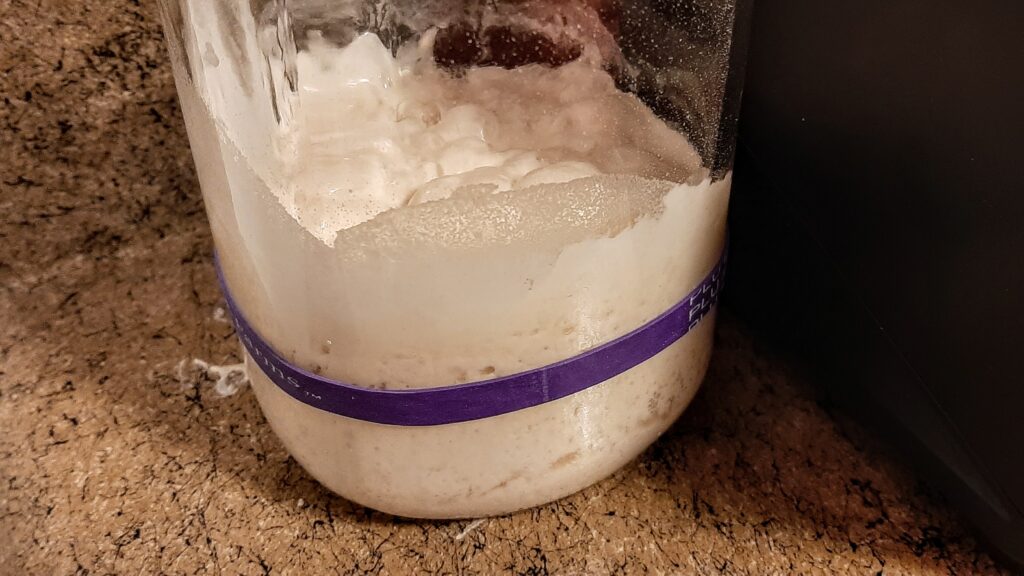
I set this in a pint-sized mason jar. In a separate bowl, I took about a cup each of the white, all-purpose flour and water and mixed those together until smooth. I then added this to the jar with my dough ball, stirred it up a bit, and added a cover that I have that’s designed to turn a mason jar into a sort of travel mug, with an opening to put in a straw or just drink through. Don’t seal the jar, put some sort of cover on it, but nothing airtight. We’re not trying to capture natural yeast like with sourdough, but we don’t want pressure building up as our yeast starter does its thing.
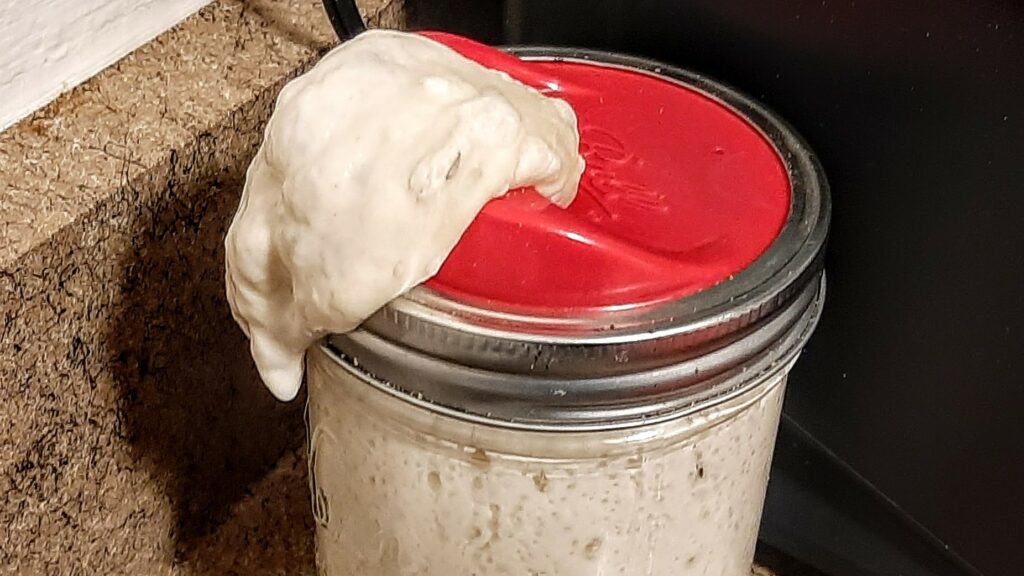
Use a larger jar than I did. Mine oozed out of the jar. I would say use a quart sized jar, or at least a 1.5 pint jar. Set this somewhere warm, but not hot, just as if you were letting dough for a loaf of bread proof.
Step 2 – Beginning of a Starter, or What’s in a Name
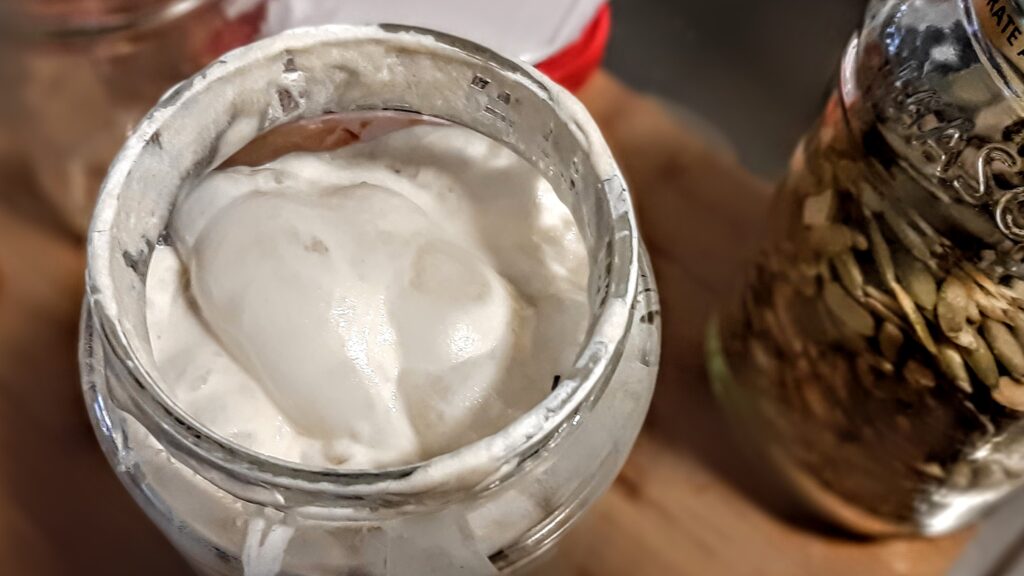
After about 12 to 24 hours, you will have about double the amount of starter you.. well… started with. You can use a rubber band around your container to show the starting level and see just how much it does rise. This is the yeast munching away on that flour and happily reproducing.
At this point, you have a starter, or you may hear it called a levain. Like so many culinary words, levain comes from the French word for starter. Some use the term starter for the portion you hold over and continue to feed and call the part of the starter you then use to make some bread the levain. But really, they seem to be interchangeable. If you want to get really fancy, you could use the Italian word, biga, or the Polish word, poolish. They are all generally just what you call a mix of flour and water that’s been turned into a leavening agent.
At this point, you can use some of this starter to make a loaf of bread, or maybe you’re not ready quite yet? Either way, we need to…
Step 3 – Name Your Starter
Speaking of names, it seems to be a tradition among bread bakers to name their starter. No, I have not named mine yet. I will update you once/if I do. Maybe if I decide to refer to it as a levain versus starter I should come up with a French name or something…? Leave suggestions in the comments if you have them.
Step 4 – Feed Your Starter
Yeast is a living thing. In order to survive, it needs to eat. In order to keep your starter alive, you need to keep it fed. How much and how often can vary depending on a few things. If you plan on baking a number of loaves on a regular basis, you’ll want to feed your started more. If you only want to do maybe one loaf about once a week, then you won’t need to feed it as much.
You will know your starter is doing well if it’s roughly doubling in size, and when you will see lots of air bubbles throughout and on the surface of your starter. If it’s not increasing enough, or maybe you notice it increased, but then “collapsed”, then you need to add a bit more flour than water on the next feeding because the yeast is eating more than you’re giving it.
If you’re doing at least one loaf every few days and keeping your starter at room temp, you’ll need to feed it every day. Otherwise, you can store it in the fridge and feed it about once a week.
To feed your starter, you remove about half of the contents of your container, ideally using it to make a loaf of bread, some pizza crust, or maybe even some pancakes. Mix up a slurry of that same amount of flour and water and mix that back into your starter. So if you’re starter is currently about 2 cups worth, take out about 1 cup, make a slurry of 1 cup flour and 1 cup water and mix that back into the starter.
Something to keep in mind, you always want to add at least as much flour to your starter as to whats in the jar. One way to do this is weigh your jar empty, note that weight (write it on the jar somewhere or something). When you’re ready to feed your starter, remove about half and then weigh the jar. If your jar is 100g, the jar with starter weighs 150g, then you know you have 50g of starter and want to add 50g of water and at least 50g of flour.
You can add additional flour, on purpose or not. Doing so will help you add some volume to your starter. Maybe you know you want to make some additional loaves coming up, or maybe want to share some starter with a friend. You can add additional flour for a feeding to get some additional volume.
When you do stick to the equal parts of water to flour, this is what is considered a 100% hydration starter, where the flour and water amounts are equal. There are reasons you may end up doing a stiffer starter or maybe even one that’s wetter, but 100% seems to be the most used for general purposes.
When it comes to water, I have never had any issues using tap water for my no-knead breads, but I’ve been trying to use filtered water for my starter feeding. This is because tap water tends to have chlorine in it, which isn’t exactly good for the yeasts. When doing a loaf, it seems to sit long enough that it doesn’t seem to impact the yeast, but I’d rather not worry about that with the starter. If you don’t have a filter, try bottled water, or just put a pitcher of water out overnight to allow the chlorine to dissipate.
For my use, I don’t know that I’ll be doing more than one or two loaves a week, so I will be keeping mine in the fridge and I’m going to pick a day of the week where I will always try to do a feeding. Your starter, when properly cared for will last… indefinitely. It will provide you many, many loaves of bread.
If for some reason, your starter ends up a bit…. neglected, don’t fret. Often you can rescue a forgotten starter months or even longer later. Just pull out a bit of the neglected starter, put in a clean container and start the feeding process again.
Additionally, some bakers will use sweeteners in their starter, I have not tried this yet, but you can find lots of info on that out there as well.
Step 5 – Use Your Starter
Bread making is a blend of art and science. There are “recipes” out there, but for every one you find you will find at least five others that will be similar, but different. In bread making, some of it is differences in flour, altitude, season, humidity, whatever. But just as much of it is personal preferences. That said, there are baselines, and in bread making it seems to start with the Bakers Ratio. I found this short article over at Bread Magazine that does a really good job at explaining the ratios, and give a good starting ratio for regular bread.
The caveat here when it comes to using these ratios, they are based on weight, not volume, and many people still do not have decent scales for their kitchen. While for my typical no-knead bread, I really don’t worry about weights, I haven’t built up that confidence when using a starter just yet. So hopefully, you have a scale, if not you can generally find a good one for around $20.
From just reading various recipes and watching some videos, one rule of thumb you can try starting with is taking a recipe and adding 1 cup of starter, then reducing both the flour and water by 1 cup each. Eventually, I will try to make some breads based on volume-based measurements, but that is going to be a bit down the road. Also, I do find for a no-knead recipe, I’ve found you that you may need to bump up the water compared to a regular loaf.
- Basic Bread Ratio
- 100% (1000g) bread flour
- 80% (800g) water
- 1% (10g) fresh yeast
- 2% (20g) salt
- Starter Bread Ratio
- 100% bread flour
- 80% water
- 15% starter
- 2% salt
I did not include the weights on the second, the point is figuring out how much of the water, starter and salt to add based on how much flour you use. My latest loaves I’ve actually been starting with 500g of flour, so I end up then with 400g of water, 75g of starter and 10g of salt.
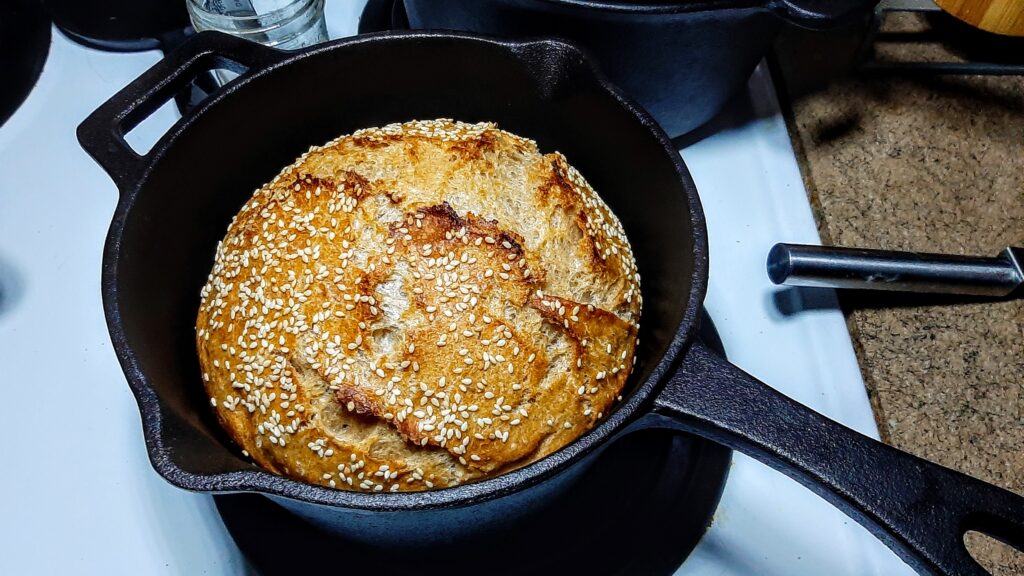
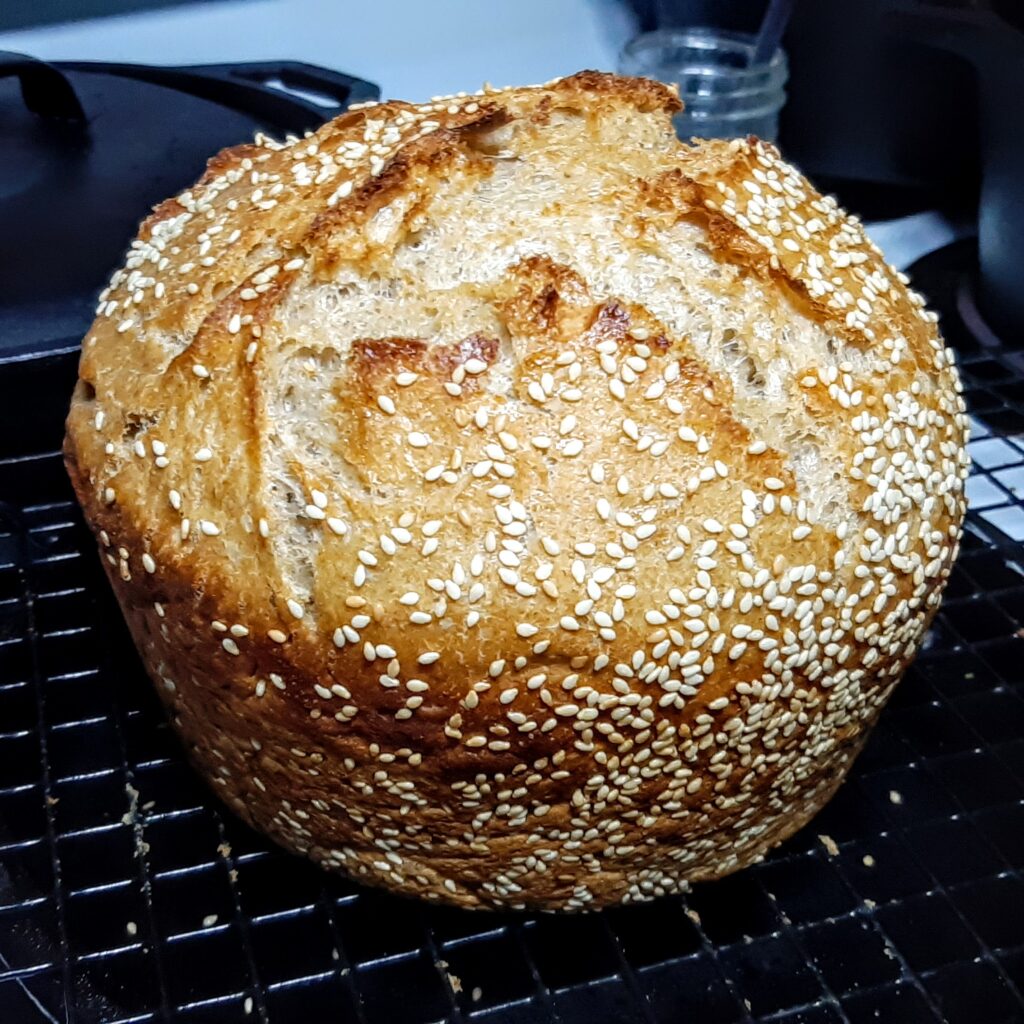
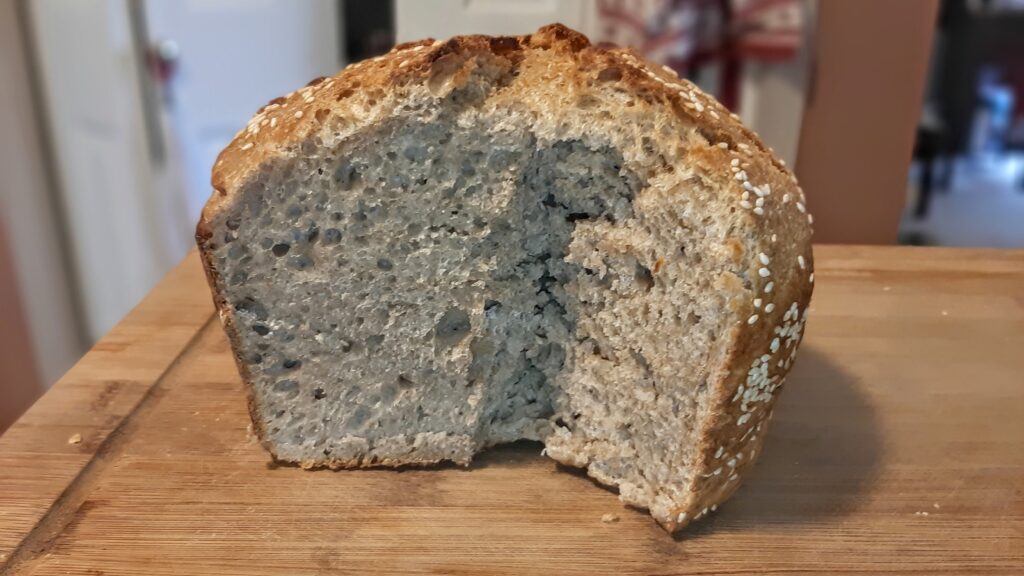
Beyond creating and maintaining the starter, the process I’ve used now is still the same. Mix everything up in my Pyrex dish, let it sit at least 12 hours. Punch down and reshape it. Let it rise again, and bake in my pre-heated cast iron Dutch Oven or saucepan.
One last note about the flour. You can get some very different results in not just your starter, but also your loaves of bread by using different flours in your starter. White all purpose (AP) flour will be different from wheat, which will be different than rye, and so on. Some bakers keep different starters to use for different purposes. If you begin by using one type of flour and decide you’d rather use another, just start transitioning to that in your feedings. Or just always use a blend. It is up to you, make it your own.
Like the name of my No-Knead Bread post implies, this too is a work in progress. There is no end to what one can learn about something like bread making, especially as I dive into using starters vs dry yeasts. I will keep adding notes and updates as I feel I come up with more worth sharing. On top of that, as I mentioned, bread making is as much art as science, and as long as you follow the basics of the science you can do some wonderful things to make this process your own.
Resources
Below is a list of videos and other online resources I’ve used at coming up with my own process. For what to do with your starter, you can treat it as a sourdough starter, so any resource with ideas for that should work fine.
- No Knead Bread Recipe Stuff In Our Cupboard Keep Calm – Bake On!
- Saved Yeast No Knead Bread Recipe Levain Or Biga Method
- Can You Rescue SourDough Starter After 6 Months Of Neglect
- 15 Mistakes Most Beginner Sourdough Bakers Make
- How to Maintain a Sourdough Starter – Dear Test Kitchen
- How to Make Sourdough Bread Masterclass
- One Formula to Rule Them All
- Your Amish Friendship Bread Starter Needs a Name