birds into butterflies
Ok, this may be one of my worst play on words for a post title ever. And technically it’s not even butterflying the bird, it’s spatchcocking. But as popular as it seems to have gotten on YouTube, spatchcocking is still something of a mystery to many.
I think most folks recognize the term butterfly, whether it be a steak or a chicken breast. It’s cut in half so it’s wider and flatter. When you do it to a whole bird, you remove the backbone and flatten it, and it’s called spatchcocking.
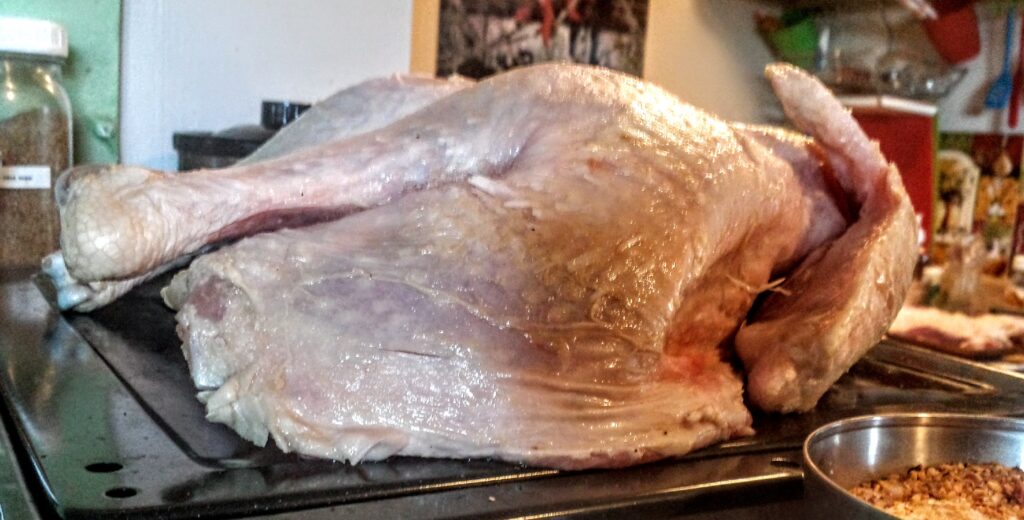
I’m mostly done this with turkeys that I’ve cooked for Thanksgiving, and only a few times done it with chicken. I don’t cook whole chicken that often… and recently when I do, I’ve been using a cast iron cooker that I picked up at a thrift store. I’ve had great success with it, though it does add a little to the cooking time. And, it looks kewl.
I was browsing YouTube and came across a video by one of the cooking channels I’m subscribed to where he demonstrates three different ways to spatchcock a chicken. The basic way is to use kitchen shears, a second way to use a knife if you don’t have shears, but the third way is what really caught my eye.
See normally, you cut out the backbone, flatten the bird as one piece. Spatchcocking a bird serves a couple purposes…

Chickens are not as bad as turkeys, but the size of the breast and lack of fat means it takes longer to cook, but dries out much easier. Thighs and legs are smaller, with more fat, so they need to cook to a higher temp to render the fat properly but cook faster. This all works against each other in a way that often leads to the white meat being over done and dry or your dark meat not being done to a proper temp. The increased surface area when you spatchcock a bird allows it to cook quicker overall, and much more evenly. I did a 16 pound turkey in just over 2 hours one year.
But… when it’s all one piece, you do sometimes have to do some playing around, maybe protecting the breast with foil for a bit to make sure your white and dark ends are getting done around the same time.
So why not separate the two halves, so you can cook them separately as needed? That’s the idea behind the first method Glenn demonstrates in his video. It’s a quick video, and you can just watch the first half if you want…
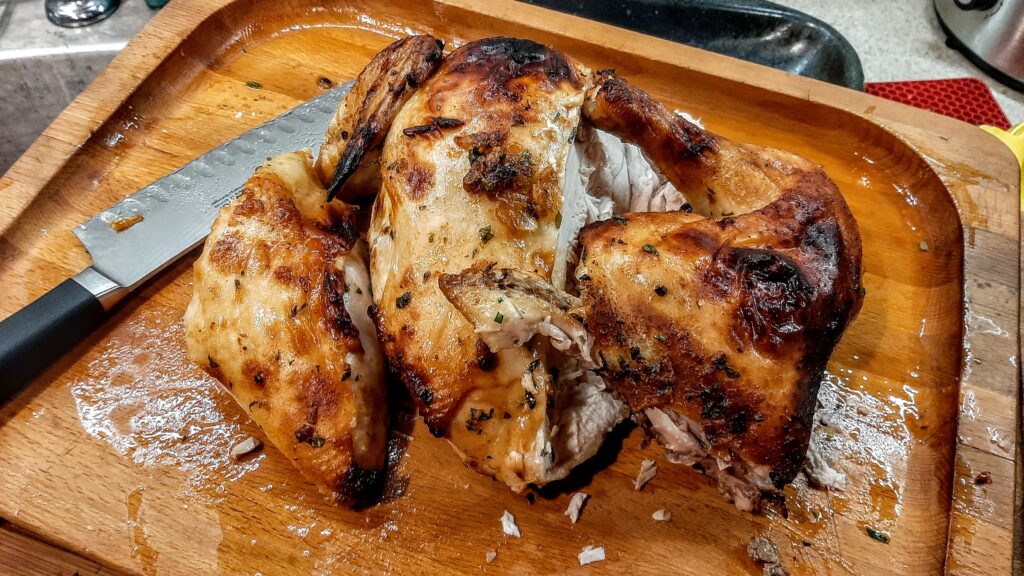
I tried this on a chicken I cooked on stream recently, and it was great. I put my probe thermometer in the breast and set the alarm for 155. I figured I would take it off about then, let carry-over bring it to the desired 160ish. When it went off, I checked the dark meat and it was just over 170… which was right where I wanted, maybe even a little high. I wanted to take it out of the oven and let carry-over bring it up to 175.
I was cooking this right on the oven rack with a tray of veggies under it. I set it with the breast towards the back of the oven where I know it gets hotter. I had to put the legs with one leg to the back, and when I saw the temp hit about 100 I rotated them. Because the two halves were separate, this was very easy to do.
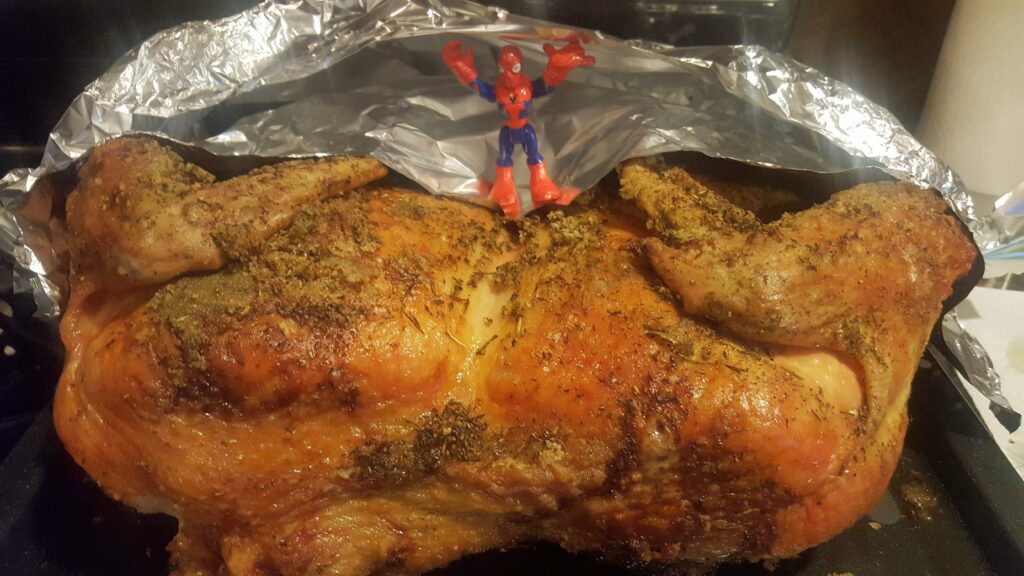
I really need to get better about taking photos while streaming. I didn’t get a pic of the chicken until after I had already carved into it. But trust me, it was very evenly done, the skin was crispy, and the meat… both dark and white was incredibly juicy. And I did no brine, just a wet rub about half an hour before cooking.
I’ll be using this method when I prep this years Thanksgiving turkey. And while I won’t use this method for every whole chicken I do, next time I want to spatchcock one, it will be like this. Give it a shot, and if you do, let me know how it turns out in the comments.

