
outdoor cooking – the grill station
I’ve always enjoyed grilling, and when we moved into our new place back in May, one of the first things I did was hop online and find a used Weber kettle someone was getting rid of cheap. I paid about $25, then promptly spent twice that on a nice, cast-iron grill grate to replace the very rusty one that was on the grill.
I soon decided that wasn’t going to cut it, the lid was a lil outta whack, the bottom vents didn’t work right… it would get me by briefly, but with the help of some birthday bucks I bought a brand new 22″ Weber Kettle Premium in green. But I also knew I wanted a better work area for it.
I started checking out a bunch of stuff online, videos and such of not just “how to”, but general videos of other grill setups to see what sort of things I’d wanna do with mine. While this isn’t my “end all” set up, I’m very pleased with how it turned out. It have lots of work space, looks good, and should last quite awhile for me.


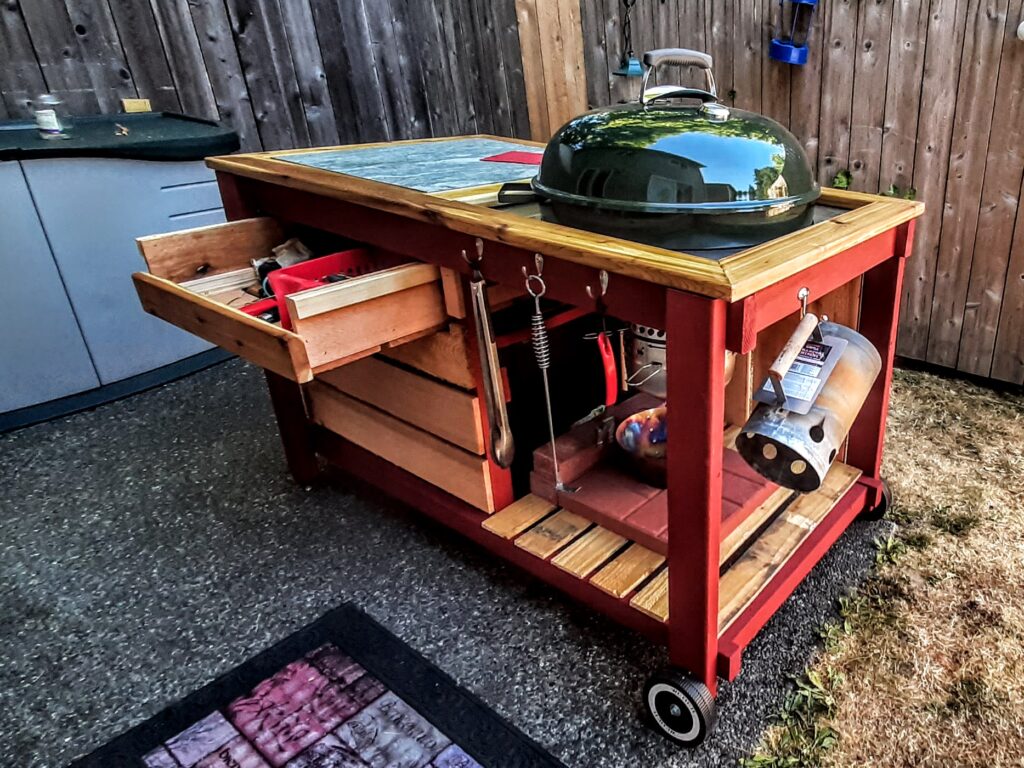
My “original” idea was going to include a tip out box on the non-grill side for storing charcoal in. It’s built using a combination of salvaged pallet wood and dimensional lumber with nice cedar boards for the top figure-8 frame.
Used the wheels from the weber, other legs have T-nuts in the ends with bolts so the wood doesn’t directly contact the ground. Also used t-nuts and bolts at the four corners to suspend the kettle and dollar store silicone trivets to protect the enamel from the bolt heads. The work surface is a 22×22 (actually 21.5ish) square ceramic outdoor tile, it’s bit over 1/2″ thick.
Found the bin at Home Depot, it’s storage for the coal and starters and some wood chips, etc. figured it would give me enough room for another shelf above it. It’s almost exactly as deep as the cart, so fit better to go in from the end, and what was going to be the upper shelf support ended up making perfect rails for sliding the bin in and out on like a drawer instead.
I moved the “bottom shelf” to the other side and used a patio paver I already had (was what I normally would put my chimney starter on when starting coals) under for extra protection from falling ash.


I was having trouble getting the kettle to sit where I wanted, to after struggling way to much to get the right angles, I went to 3 points of contact. I still ended up removing that board on the left and using the actual center support instead.
I decided to wrap the base using rough sawn cedar fence planks, used some of that and some 1×2 scraps I had to make the drawer. Using the plank turned out to make the drawer the perfect height for the opening I had. Didn’t have to rip the boards at all.


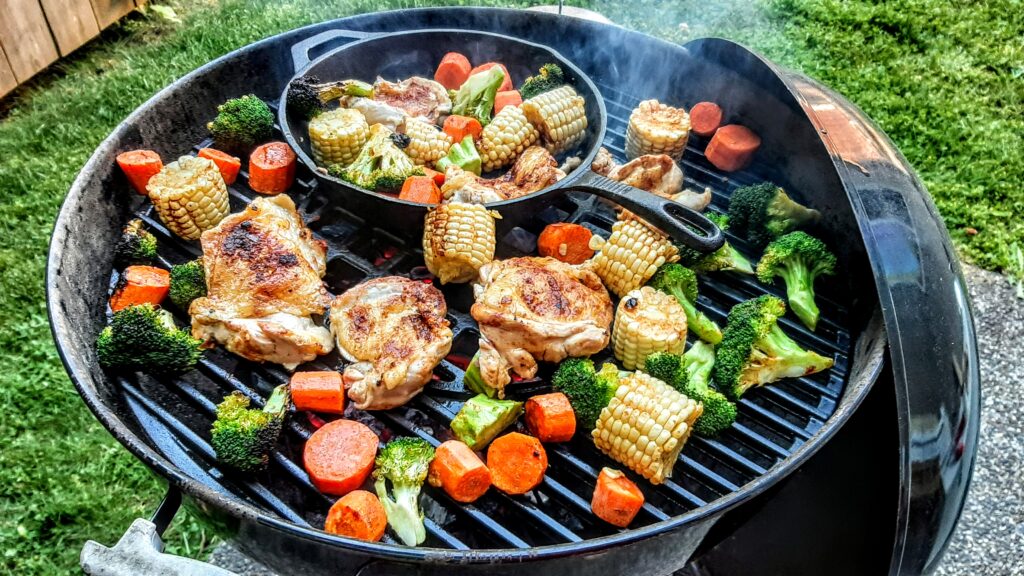
I work at a place where we do helicopter repair/builds and other stuff, so we have a metal shop. One of the guys took a scrap of stainless and cut out a hole for me. It’s slightly larger than the grill, so it doesn’t touch the stainless to risk messing up the enamel coating. At this point, the cart was mostly done, painted. The top wasn’t treated yet, but I just had to fire it up.
A few more things were added, using black iron pipe on the end to make a bracket to hold the lid, a cork handle on the top vent, and drilled a port for running the probe thermometer cables through. Oh, and I don’t think a grill station would be complete without a bottle opener.
I still have other ideas of things I would like to do for some more outdoor cooking options, but not right away. I also don’t have that much of a yard, so will have to figure out if it will work to do so or not. We’ll see.